CSS Selectors 101: Targeting Elements with Precision
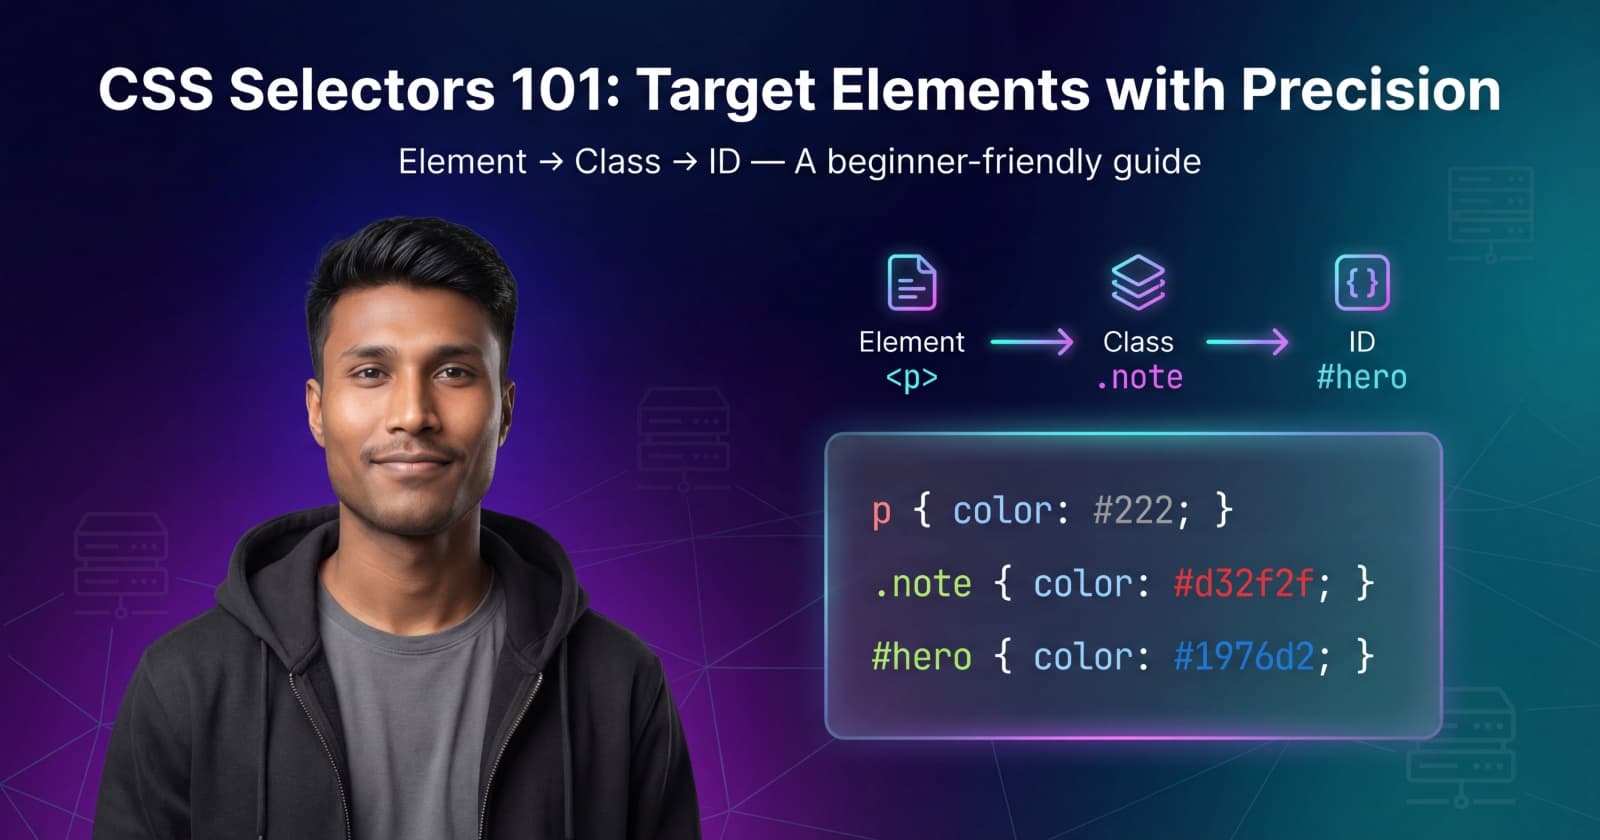
Selectors are the “who” in CSS - they decide which HTML elements get styled. Start simple: element → class → id. Learn to target with precision, avoid specificity wars, and prefer classes for reusable styling. This post walks you through why selectors exist, practical examples, simple diagrams, common pitfalls, and exercises.
Introduction - Why CSS selectors are needed
CSS has two parts:
Selectors → choose elements (who)
Declarations → define styles (what)
Without selectors, CSS wouldn’t know which parts of your HTML to style. Everything would look like plain, unstyled markup.
In this guide, we’ll cover:
Element selectors
Class selectors
ID selectors
Group selectors
Descendant & child selectors
Basic selector priority (specificity, at a high level)
We’ll skip advanced stuff like pseudo-classes for now.
Real-world analogy: Addressing people
Element selector → shouting “Students!” (everyone in the room)
Class selector → “Study group A!”
ID selector → calling one person by name
Simple Flow Diagram
Quick Example
<p class="note">Important!</p>
p { font-size: 16px; }   /* element selector */
.note { color: red; }    /* class selector */
Element Selector — The Basics
Element selectors target all instances of a tag.
p {
  line-height: 1.6;
  color: #222;
}

button {
  padding: 0.6rem 1rem;
  border-radius: 6px;
}
Use for: global, baseline styles Avoid for: styling specific components
Beginner mistakes
Styling layouts globally (
div { display:flex })Trying to build full components with only element selectors
Class Selector — Reusable Styling
Classes are the workhorse of CSS. They let you reuse styles across elements.
<button class="btn primary">Save</button>
<a class="btn primary" href="#">Link</a>
.btn {
  padding: 0.6rem 1rem;
  border-radius: 6px;
  border: none;
  cursor: pointer;
}

.btn.primary {
  background: #0b74de;
  color: white;
}
Think of classes as groups — many elements can belong.
Diagram: Different Elements, Same Class
Common mistakes
Overly long class names
Naming based on color instead of purpose
ID Selector — Unique Hooks
IDs target one unique element per page.
<header id="main-header">
  <h1>Welcome</h1>
</header>
#main-header {
  padding: 2rem;
  background: lightgray;
}
Use for
Unique page sections
JavaScript hooks
Avoid
Using IDs for reusable UI components
Overusing IDs (leads to specificity problems)
Group Selectors — Save Repetition
Apply the same style to multiple selectors.
h1, h2, h3 {
  font-family: "Inter", sans-serif;
  line-height: 1.1;
}
Mistake to avoid: grouping elements that may need different styles later.
Descendant and Child Selectors
These target elements inside other elements.
<div class="card">
  <h3>Title</h3>
  <p>Some text</p>
</div>
.card p {
  margin-top: 0.5rem;   /* any paragraph inside */
}

.card > p {
  margin-top: 1rem;     /* only direct children */
}
Beginner mistakes
Deep selector chains that break when HTML changes
Styling based too heavily on structure
Basic Selector Priority (Specificity)
When multiple rules apply, CSS decides which wins.
Simple Order (low → high)
Example:
<p id="intro" class="note">Hello</p>
p { color: black; }
.note { color: blue; }
#intro { color: green; }
Final color: green (ID beats class)
Avoid: using !important unless absolutely necessary.
Before & After Example
HTML:
<ul class="menu">
  <li>Home</li>
  <li class="active">Blog</li>
  <li>About</li>
</ul>
CSS:
.menu {
  list-style: none;
  display: flex;
  gap: 1rem;
}

.menu li {
  padding: 0.25rem 0.5rem;
}

.menu li.active {
  background: #eee;
  border-radius: 4px;
}
What’s happening
.menusets layout.menu listyles items.menu li.activehighlights one item
Quick Checklist
✔ Use classes for reusable components
✔ Use IDs only for unique sections
✔ Keep selectors simple and readable
✔ Avoid deep nesting
✔ Limit global element styles
Common Pitfalls
Specificity wars
Overly generic selectors
Styles breaking when HTML structure changes
Class names based on color instead of purpose
Practice Exercises
1️⃣ Articles
Style all
<article>elementsAdd
.featuredclass to highlight one
2️⃣ Navigation
Use
.navand.nav liAdd
.activeto one item
3️⃣ Specificity Puzzle
<div class="card" id="promo">
  <p class="note">Special offer</p>
</div>
p { color: black; }
.note { color: blue; }
#promo p { color: green; }
Answer: Green — ID selector wins.
Summary
CSS selectors let you target HTML with precision. Start broad with elements, move to classes for reusable design, and reserve IDs for unique elements. Keep specificity low, styles modular, and selectors readable.