Git for Beginners: Your First Step to Version Control Mastery
Introduction
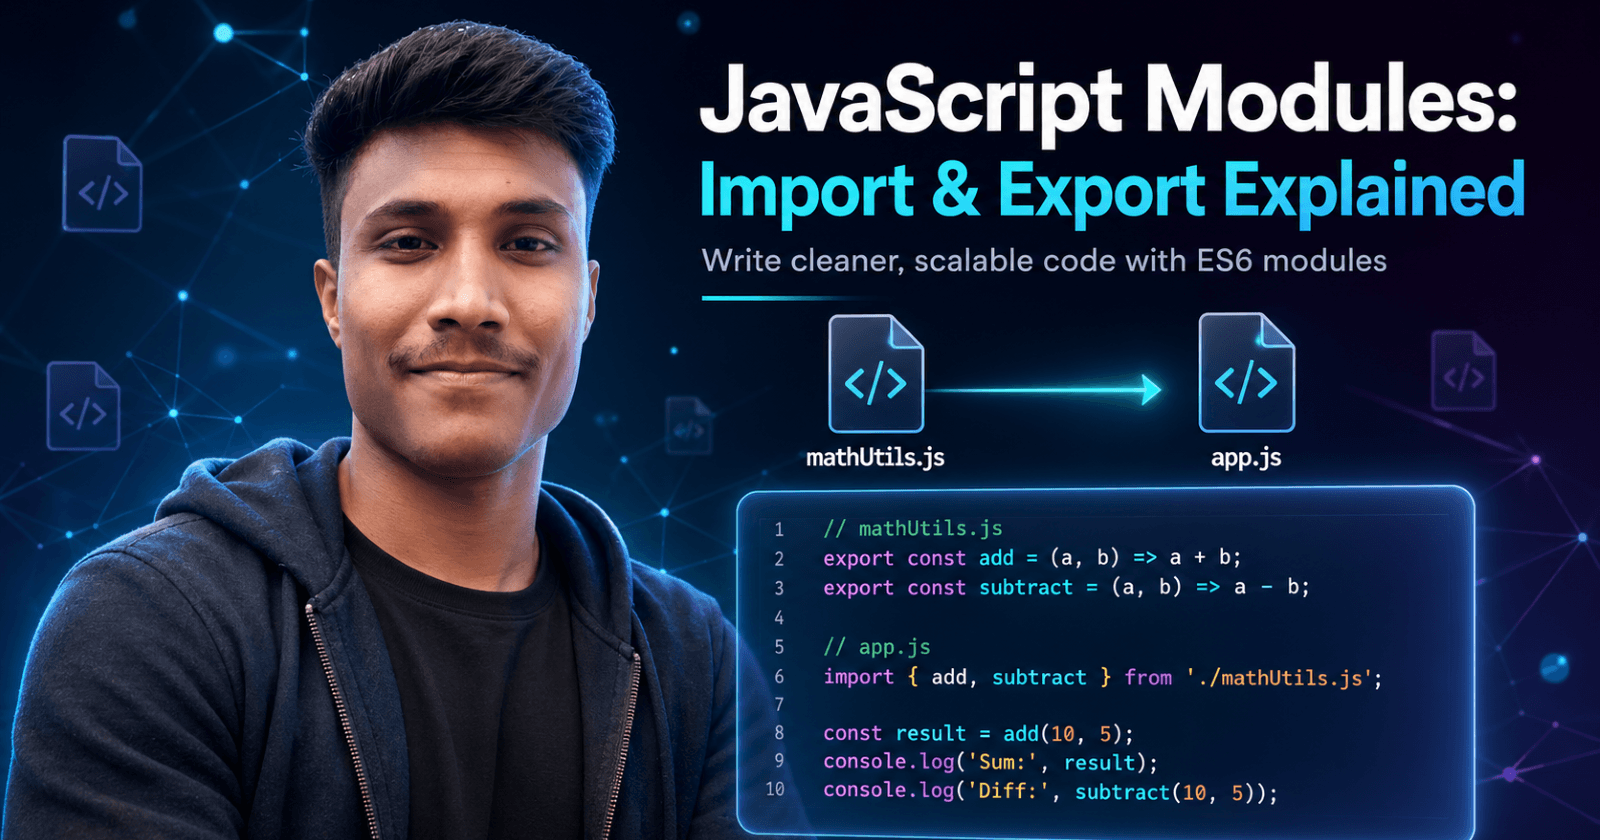
Have you ever worked on a project and wanted to go back to an earlier version? Or accidentally deleted something important and panicked? Git is here to save you! Think of Git as a safety net for your code - it keeps track of every change you make, lets you go back in time if needed, and makes it easy for teams to work together without stepping on each other's toes.
In this guide, we'll learn Git in a way that feels natural, using simple language and examples you can relate to.
What is Git?
Git as Your Code's Time Machine
Imagine you're writing a story. Every time you finish a chapter, you save a copy with the date on it. If you want to see how your story looked a month ago, you just pull out that old copy. Git does exactly this for your code!
Git is a tool that records changes to your files over time. Every time you save your work (called a "commit"), Git takes a snapshot of what your code looks like at that moment. You can go back to any of these snapshots whenever you want.
Simple way to think about it:
Your Code Journey:
Version 1 (Jan 1) → Version 2 (Jan 3) → Version 3 (Jan 5) → Version 4 (Jan 10)
   ↑                   ↑                   ↑                   ↑
You can jump to any of these points!
Why Use Git? (The Real Benefits)
Never Lose Your Work Again
Accidents happen! You might delete a file by mistake, make changes that break everything, or save over something important. Git keeps a history of everything, so you can always get back what you lost. Think of it like an "undo" button that never runs out.
Collaborate Without Chaos
Imagine two friends working on the same essay. One person deletes a paragraph while the other is adding to it. Chaos! Git prevents this by tracking who changed what and when. Multiple people can work on the same project without overwriting each other's work.
Before Git (Chaos):
Sarah's copy: "This is my essay v1"
John's copy:  "This is my essay v1"

Sarah changes it to: "This is my GREAT essay v1"
John changes it to:  "This is my essay v2 UPDATED"

Who has the right version? 😱
With Git (Organized):
Main Project
├─ Sarah's changes (tracked)
└─ John's changes (tracked)

Git can merge them together properly! ✅
Experiment Fearlessly
Want to try a wild new feature? Create a branch (like a copy) in Git, experiment freely, and if it works, merge it back in. If it doesn't work, just delete the branch. No risk!
Original Project (main branch)
           ↓
    Create a copy to experiment
           ↓
   Try new feature on copy
       ↙            ↖
    Works?      Doesn't work?
      ↓              ↓
   Merge it     Delete it
   back in      (no damage!)
Core Git Concepts You Must Know
Repository (Repo)
A repository is just a folder where Git tracks your files. It's like a container that holds your entire project and all its history. When you create a Git repo, Git adds a hidden folder inside that stores all the snapshot information.
Think of it like this:
My Project Folder
├─ .git (hidden folder - Git's storage)
│  └─ (stores all history/snapshots)
├─ index.html
├─ style.css
└─ script.js
Commit
A commit is a snapshot of your work at a specific moment in time. It's like taking a photo of your code and saying "This is how my project looks right now." Every commit has:
What changed (which files were modified)
When it happened (timestamp)
Why it happened (a message you write explaining the change)
Example:
Commit #1: "Added home page layout"
Commit #2: "Fixed button styling"
Commit #3: "Added contact form"
Branch
A branch is like a parallel copy of your project where you can work independently. The main branch is usually called "main" or "master" - it's the official version of your project. Other branches let you develop new features without affecting the main version.
                    [Feature Branch 1]
                         ↗
[Main Branch] ────────────┼────────────
                         ↖
                    [Feature Branch 2]

You can work on different features in different branches
without them interfering with each other.
HEAD
HEAD is just a fancy way of saying "where you are right now." It points to the branch and commit you're currently working on. Think of it like a bookmark in a book - it shows you where you are in your project's history.
Commits: A → B → C → D → E
                         ↑
                        HEAD
                   (you are here!)
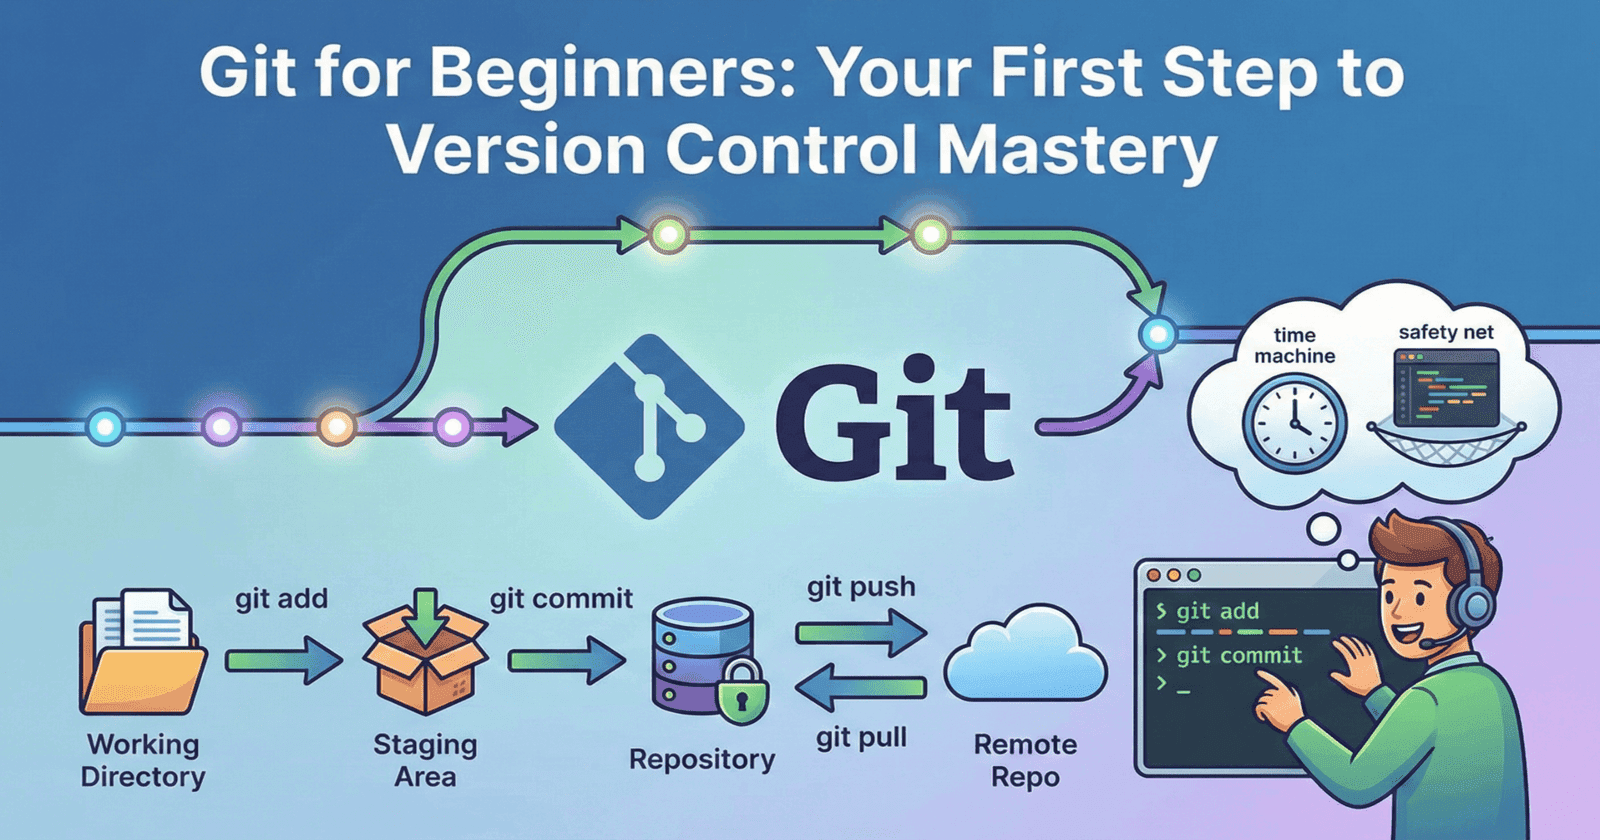
Working Directory, Staging Area, and Repository
These are three different locations in Git:
Working Directory - Your actual files on your computer. This is where you make changes.
Staging Area - A waiting area where you put files you want to save in your next snapshot.
Repository - The actual saved snapshots in Git's database.
The flow is like this:
You edit files
      ↓
Files are in Working Directory
      ↓
You say "git add" to move them to Staging Area
      ↓
Files are in Staging Area (ready to save)
      ↓
You say "git commit" to save them
      ↓
Snapshot is saved in Repository
Think of it like sending a package:
Working Directory = Items on your desk
Staging Area = Putting items in a box
Repository = Sending the box to storage
Setting Up Your First Git Repository
Step 1: Install Git
First, you need to download and install Git on your computer.
Windows: Visit git-scm.com and download the Windows installer. Run it and follow the instructions (just click "Next" through most of it).
Mac: You can install it using Homebrew or download from git-scm.com.
Linux: Use your package manager, like
sudo apt install gitfor Ubuntu.
To check if Git is installed, open your terminal/command prompt and type:
git --version
If you see a version number, you're good to go! 🎉
Step 2: Configure Git with Your Information
Before you make any commits, tell Git who you are. Open your terminal and run these commands (replace the names with your actual name and email):
git config --global user.name "Your Name"
git config --global user.email "your@email.com"
The --global flag means these settings apply to all your projects. If you want different settings for a specific project, you can run the same commands without --global inside that project's folder.
Step 3: Create a New Repository
Create a folder for your project (or go into an existing one)
Open your terminal/command prompt in that folder
Run this command:
git init
That's it! Git has created a hidden .git folder that will track your files. You now have a repository!
Quick check:
You can see if Git is initialized by running:
git status

It should show something like:
"On branch main" or "On branch master"
Essential Git Commands Explained
git status - Your Best Friend
This command shows you the current state of your project. It tells you:
Which files have changed
Which files are staged (ready to commit)
Which branch you're on
git status
Output example:
On branch main
Changes not staged for commit:
  modified:   index.html
  modified:   style.css

Untracked files:
  script.js
This tells you that you've changed two files and have one new file that Git doesn't know about yet.
git add - Preparing Your Snapshots
Before you save your work, you need to tell Git which files to include in the snapshot. That's what git add does. It moves files from your Working Directory to the Staging Area.
git add index.html          # Add one specific file
git add .                   # Add ALL changed files
git add *.css               # Add all CSS files
Think of it like packing things into a box before sending them.
git commit - Saving Your Work
Once you've added files to the Staging Area, you save them as a snapshot with git commit. You need to write a message explaining what you changed.
git commit -m "Added home page layout"
The -m flag lets you write your message right in the command. Always write clear, short messages that describe what you changed!
Good commit messages:
✅ "Fixed navigation menu styling"
✅ "Added user login form"
✅ "Updated footer copyright year"

❌ "stuff"
❌ "more changes"
❌ "asdf"
git log - Viewing Your Project's History
Want to see all your commits? Use git log to see your project's history:
git log
Output example:
commit a8f3e4c (HEAD -> main)
Author: Your Name
Date:   Wed Jan 10 14:22:33 2024

    Added contact form

commit 7b2c1d9
Author: Your Name
Date:   Tue Jan 9 10:15:22 2024

    Fixed button styling
Each commit has a unique ID (the long string), so you can go back to any of them if needed.
git branch and git checkout
Branches let you work on features separately from the main project.
Create a new branch:
git branch feature-login     # Create a branch
git checkout feature-login   # Switch to that branch

# Or do both at once:
git checkout -b feature-login
See all branches:
git branch
Output example:
  feature-login
* main
The * shows which branch you're currently on.
Switch between branches:
git checkout main            # Go back to main
git checkout feature-login   # Go to your feature branch
git push and git pull
These commands share your work with others (or with a server like GitHub).
git push - Send your commits to a server:
git push origin main
This sends all your commits to the "origin" (usually a server or GitHub), on the "main" branch.
git pull - Get updates from others:
git pull origin main
This downloads any new commits that others have made and merges them into your branch.
Diagram of how push/pull works:
Your Computer          GitHub Server
(Local Repo)          (Remote Repo)

  Your commits
       ↓
  git push ─────────> Updated on GitHub

  Updates from others
       ↓
  git pull <───────── Latest code from GitHub
A Typical Developer Workflow: From Scratch
Scenario: Building a Simple Website
Let's walk through a real example. You're building a simple website with HTML, CSS, and JavaScript.
Day 1: Start the project
1. Create a project folder
   mkdir my-website
   cd my-website

2. Initialize Git
   git init

3. Create your first file
   (Create index.html)

4. Add it to Git
   git add index.html

5. Commit your work
   git commit -m "Created homepage structure"
Day 2: Add styling
1. Create CSS file
   (Create style.css)

2. Modify index.html to add styling

3. Check what changed
   git status

4. Add both files
   git add .

5. Commit
   git commit -m "Added homepage styling"
Day 3: Add a new feature (using a branch)
1. Create a new branch for the feature
   git checkout -b feature-contact-form

2. Create contact form files
   (Add contact.html and form-handler.js)

3. Add and commit
   git add .
   git commit -m "Added contact form"

4. Test it... it works! Switch back to main
   git checkout main

5. Merge the feature in
   git merge feature-contact-form

6. Delete the branch (cleanup)
   git branch -d feature-contact-form
Your commit history now looks like:
main branch:
- Initial commit: "Created homepage structure"
- Added commit: "Added homepage styling"
- Merged: "Added contact form"

You can see all of this with: git log
Visual representation:
                ┌─ Create contact form
                │  (on feature branch)
                ↓
main:  Init → Styling → Merge ←
                ↑________________│
           (Feature complete!)
Common Beginner Mistakes & How to Avoid Them
Mistake 1: Forgetting to Add Before Committing
The problem: You change files, then run git commit without running git add first. Nothing happens! Your changes aren't saved.
Why it happens: People sometimes forget the two-step process (add → commit).
How to avoid it: Always remember:
Step 1: git add (prepare files)
Step 2: git commit (save the snapshot)

Shortcut: git add . && git commit -m "Your message"
(This does both at once)
Check with git status first:
git status
(See what's changed)

git add .
(Add everything)

git status
(Should show green text = ready to commit)

git commit -m "Fixed something"
(Now it's saved!)
Mistake 2: Committing Too Much at Once
The problem: You change 10 different things, then commit all of it with one message like "Updated stuff." Now it's hard to find what changed and why.
Why it happens: It feels faster to commit everything at once.
How to avoid it: Commit one logical change at a time:
❌ Bad:
git add .
git commit -m "Updated stuff"

✅ Good:
git add index.html
git commit -m "Added navigation menu"

git add style.css
git commit -m "Fixed button styling"

git add script.js
git commit -m "Added form validation"
This way, your history is clean and easy to understand. Each commit does one thing.
Mistake 3: Poor Commit Messages
The problem: You write vague messages like "changes" or "fix". Six months later, you can't remember what you actually changed.
Why it happens: It's easy to rush and just write something quick.
How to avoid it: Write clear, specific messages:
❌ Bad messages:
- "stuff"
- "work in progress"
- "asdf"
- "fixed it"

✅ Good messages:
- "Added user login form with validation"
- "Fixed navbar overflow on mobile devices"
- "Updated footer copyright to 2024"
- "Refactored database queries for better performance"
Pattern to follow:
git commit -m "What did you do? What file/feature?"

Examples:
"Fixed broken link in homepage"
"Added dark mode toggle button"
"Updated package.json dependencies"
Mistake 4: Working Directly on Main Branch
The problem: You make changes directly on the main branch. If something breaks, you break the whole project for everyone.
Why it happens: It seems simpler to just work on main instead of creating a branch.
How to avoid it: Always create a branch for new features:
❌ Don't do this:
git checkout main
(Make changes directly on main)
git commit

✅ Do this instead:
git checkout -b feature-new-page
(Make your changes safely on a branch)
git commit

(When it works, merge it in)
git checkout main
git merge feature-new-page
Why this matters:
Scenario 1 (main branch):
You code → You break it → Everyone is affected ❌

Scenario 2 (feature branch):
You code → You break it → Only you are affected ✅
         → You fix it → Merge when ready
Conclusion & Your Next Steps
What You've Learned
You now understand:
What Git is: A tool that tracks changes to your code over time
Why it matters: Protects your work, enables teamwork, and lets you experiment safely
Core concepts: Repos, commits, branches, and the staging area
Essential commands: status, add, commit, log, branch, checkout, push, and pull
Best practices: Work on branches, write good commit messages, and commit logical changes
You have everything you need to start using Git in your projects!
Where to Go From Here
Next steps to master Git:
Practice the basics: Start a small project today and practice:
Creating repos
Making commits with good messages
Creating and switching branches
Learn GitHub: Once comfortable with local Git, learn GitHub:
Create a GitHub account (it's free)
Push your projects to GitHub
Share your code with others
Contribute to open-source projects
Advanced topics (when you're ready):
Merging branches and handling conflicts
Rebasing
Tagging releases
Reverting and resetting commits
Stashing changes temporarily
Practice scenarios:
Work with a friend on the same project
Create multiple branches simultaneously
Merge different features together
Practice undoing mistakes
Helpful resources:
GitHub's learning resources: github.com/skills
Git documentation: git-scm.com
Interactive Git learning: learngitbranching.js.org
Final Thoughts
Git might seem intimidating at first, but remember: every developer started exactly where you are. The commands are simple, and with a little practice, using Git becomes second nature.
Start small, commit often, and don't be afraid to experiment. You've got this! 🚀
Remember the golden rule:
Add → Commit → Push

These three commands will handle 90% of what you do with Git.
Master them first, and everything else becomes easier!